|
|

Loch Droma with An Teallach, the evening before
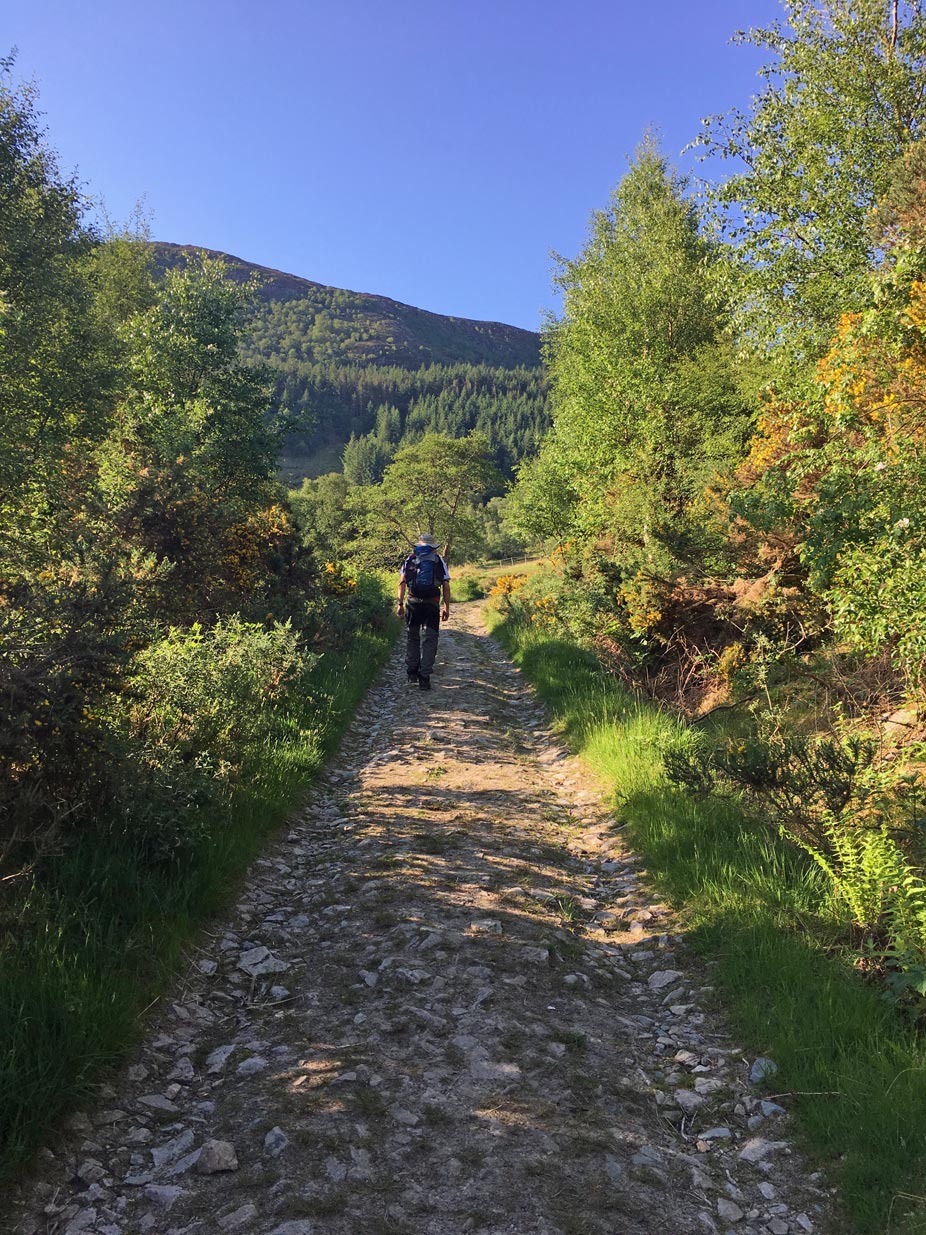
Beginning the walk into Gleann Chaorachain

First view of the walk ahead
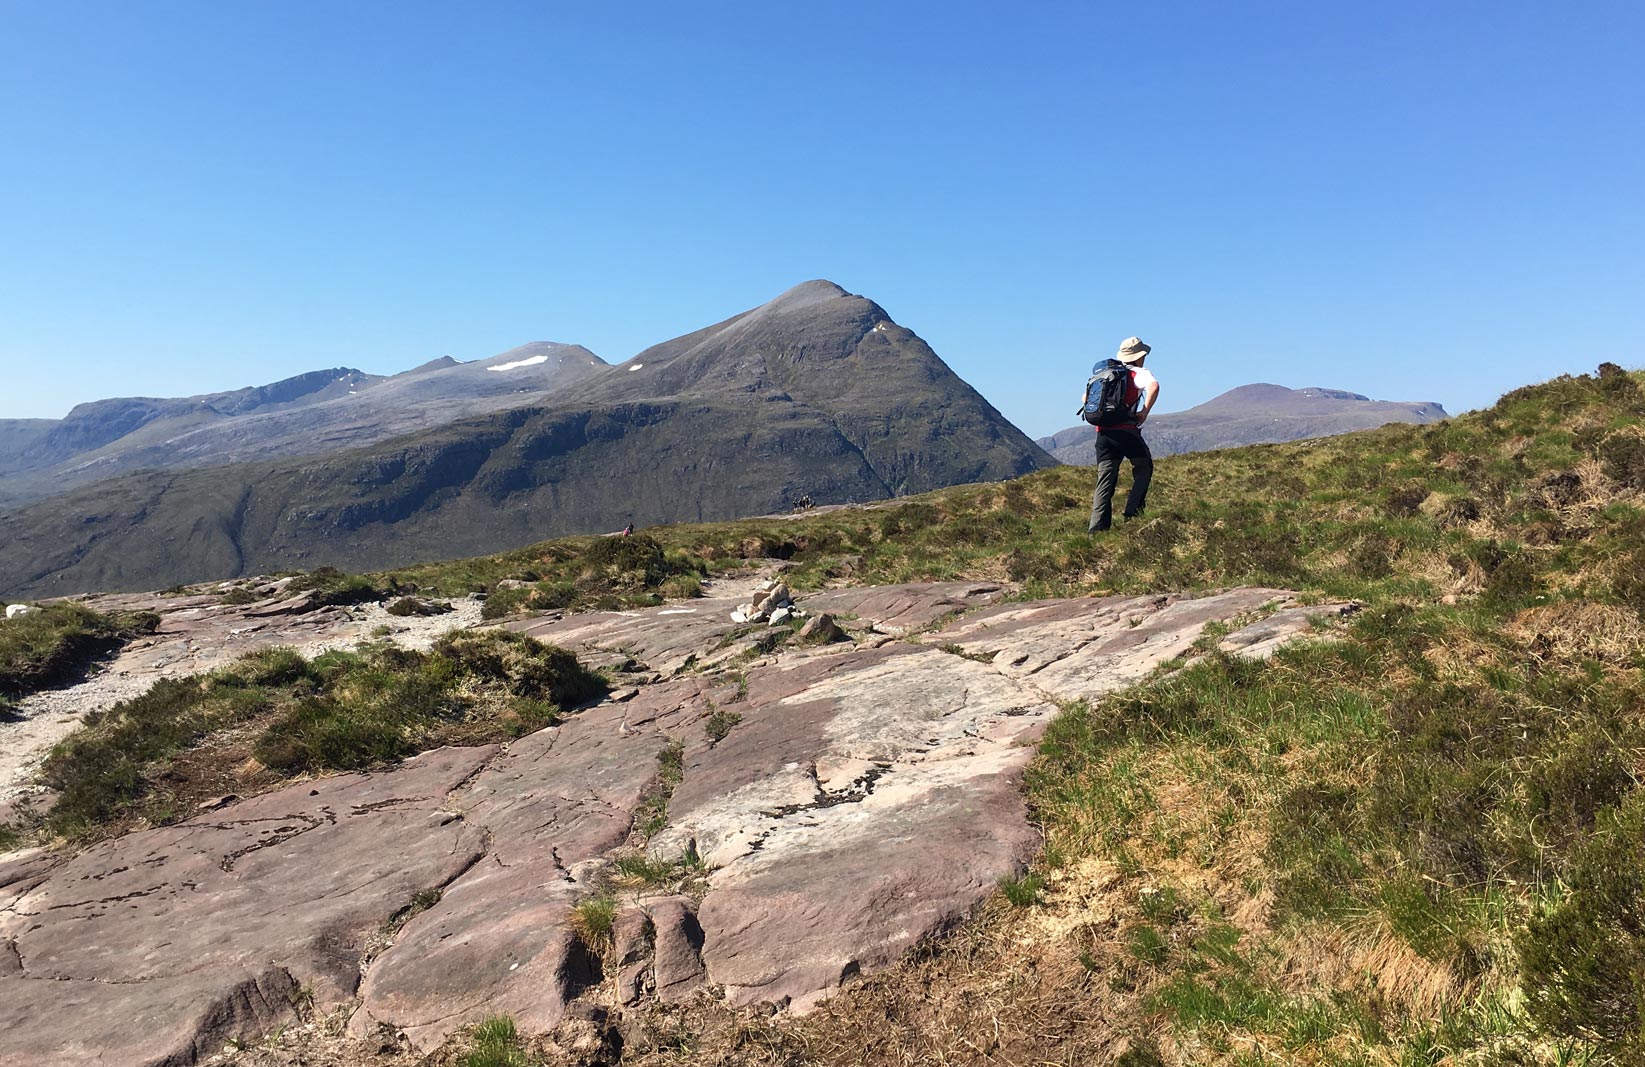
Beginning the ascent of Sail Liath with Beinn a’ Chlaidheimh behind

Meadow pipit (Anthus pratensis) nest
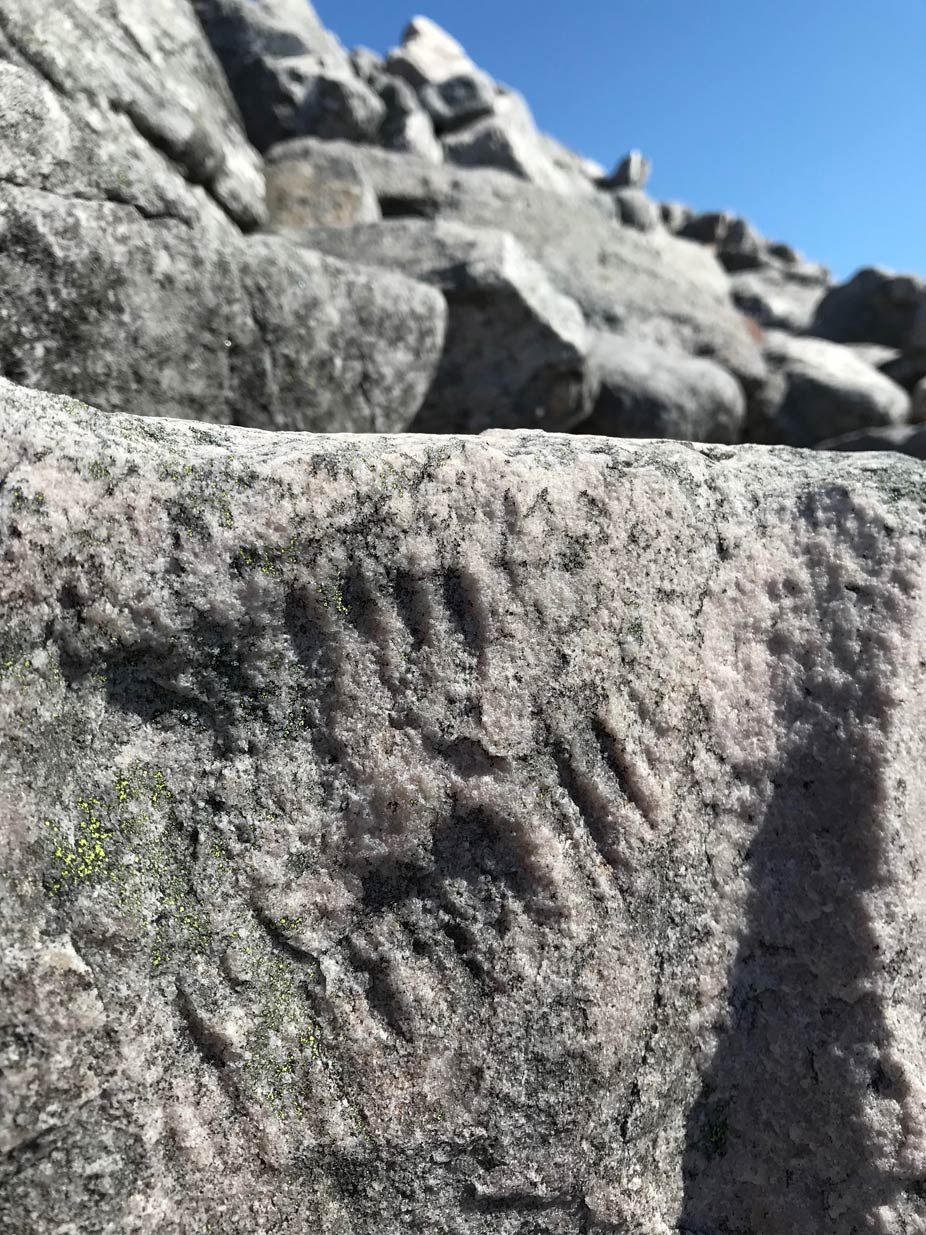
Fossil imprint?

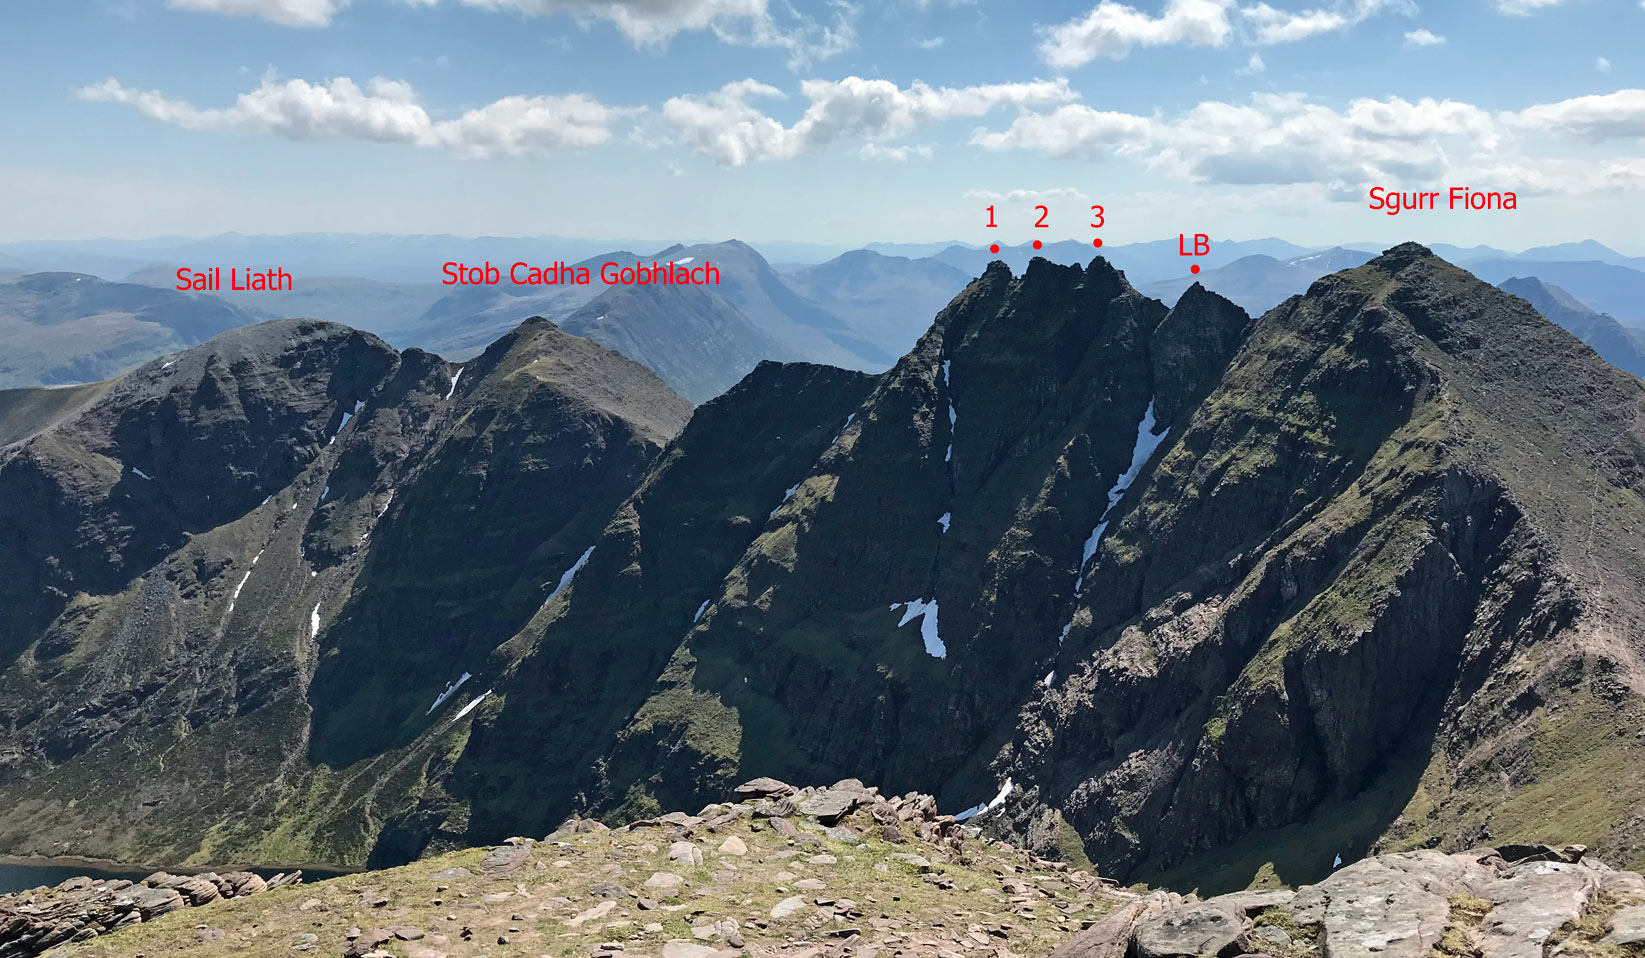
View from Sail Liath summit: Stob Cadha Gobhlach, Corrag Bhuidhe, Sgùrr Fiona, Bidein a’ Ghlas Thuill and Glas Mheall Liath

Fisherfield, Slioch, Torridon

Stob Cadha Gobhlach from Sail Liath

Pinnacles 1, 2 and 3 (going clockwise) from Sail Liath

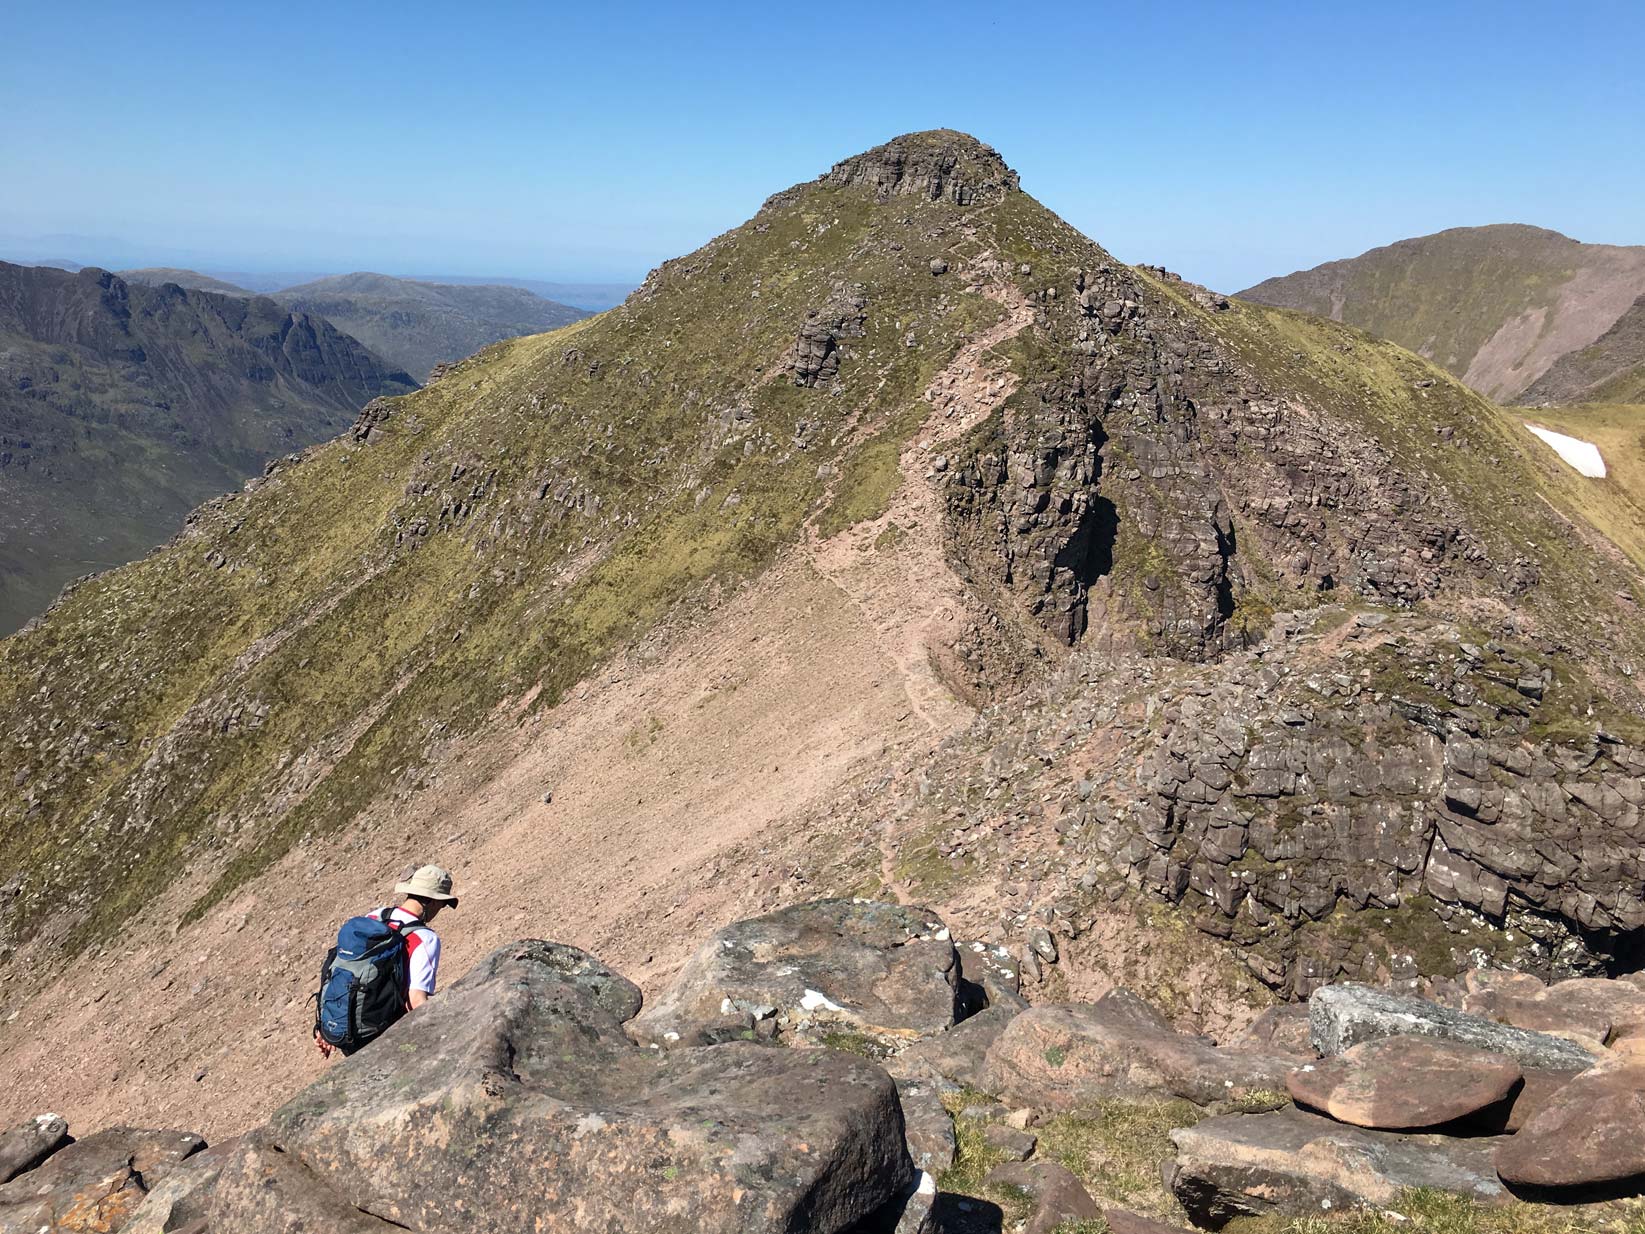
Descending from Sail Liath, heading to Stob Cadha Gobhlach
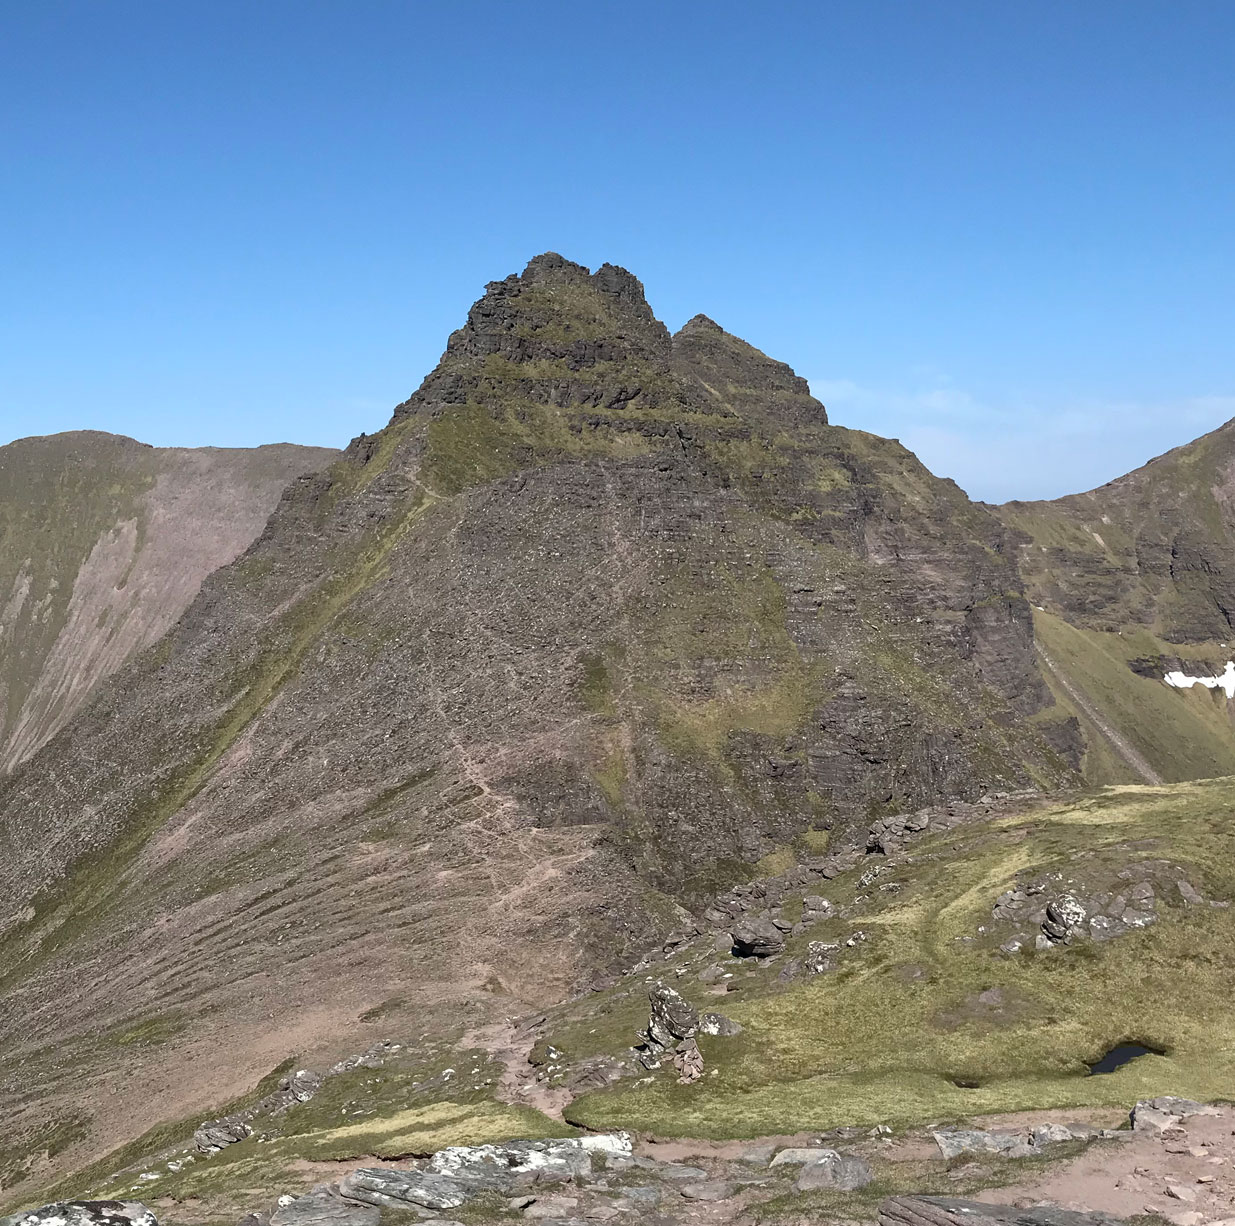
View from Stob Cadha Gobhlach to Corrag Bhuidhe

Red route: the way I went. Green route is the direct steep route up to the first 'ridge'. The blue route marks the top of the first exposed ridge. It's easy enough, but very exposed on the far side.
Yellow lines show the first tricky wall. It is climbable, but exposed.

Chockstone gully - very exposed
Gingerly stepping onto the chockstone
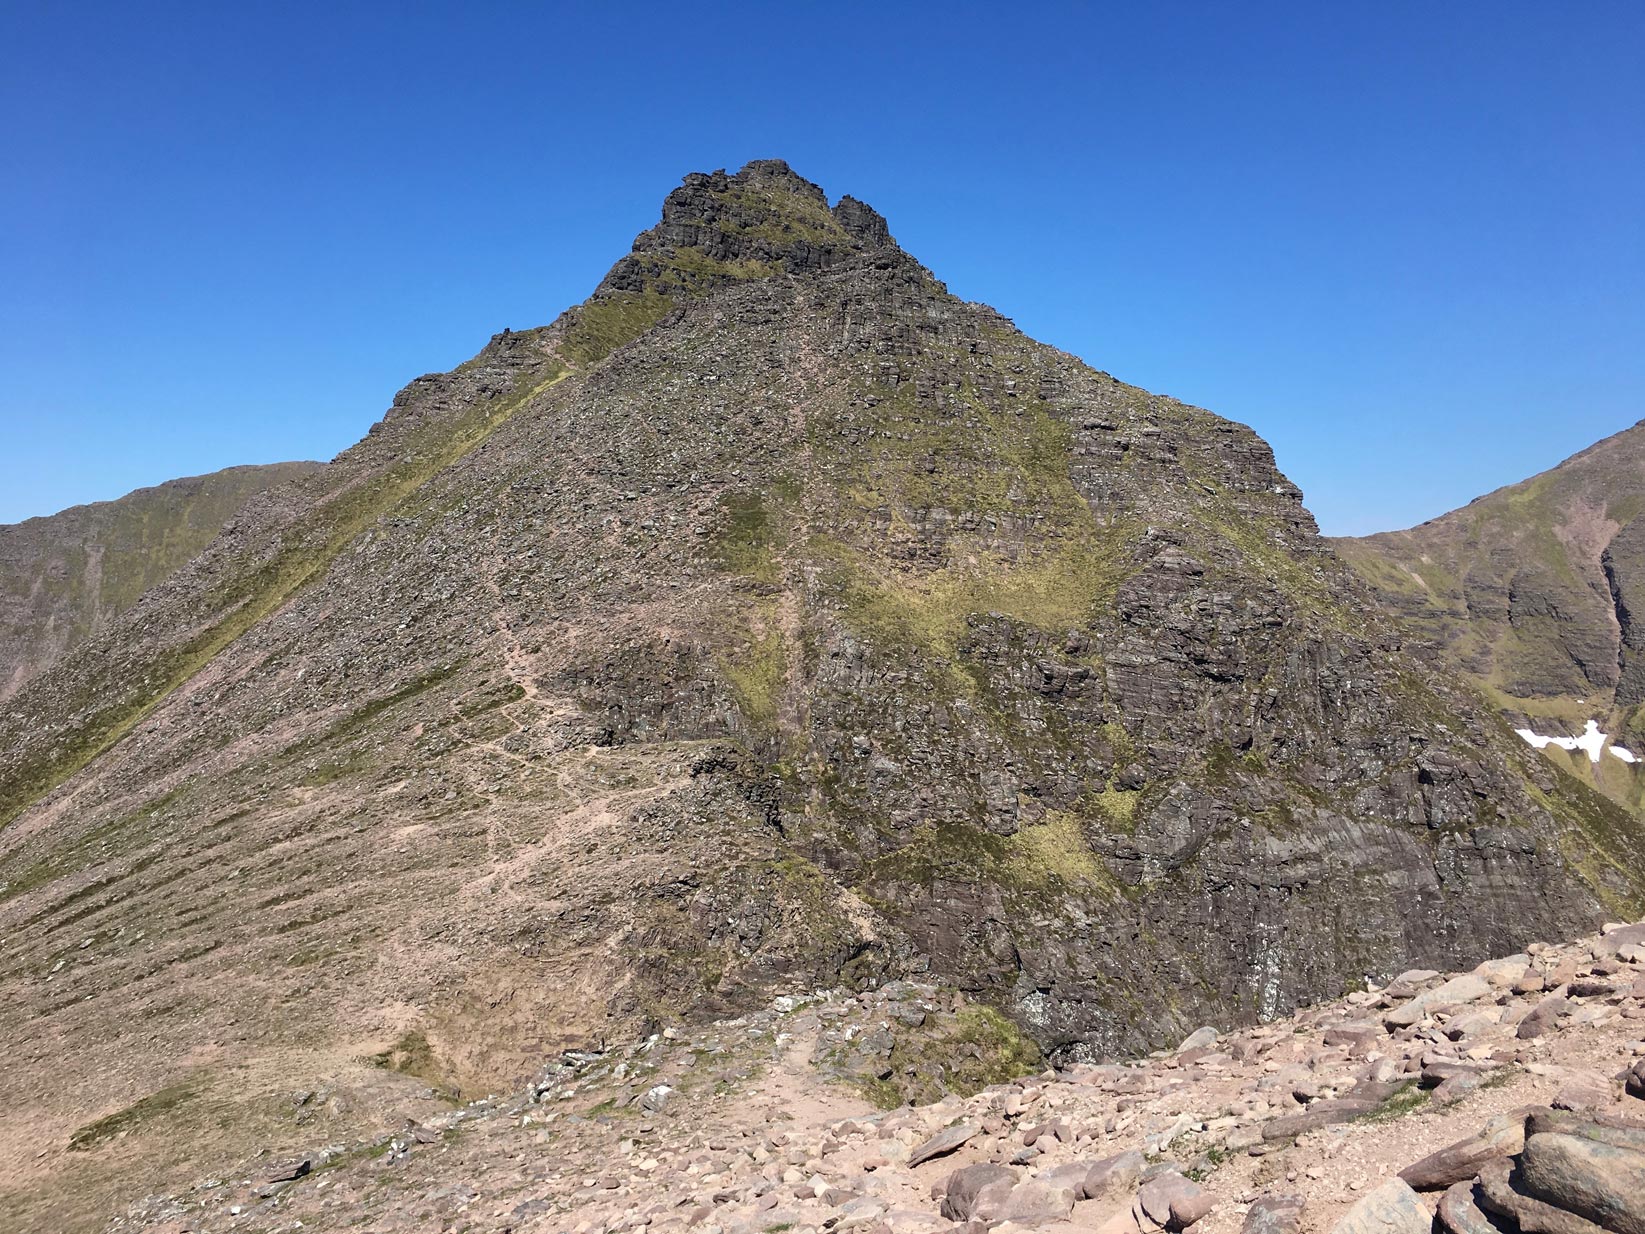
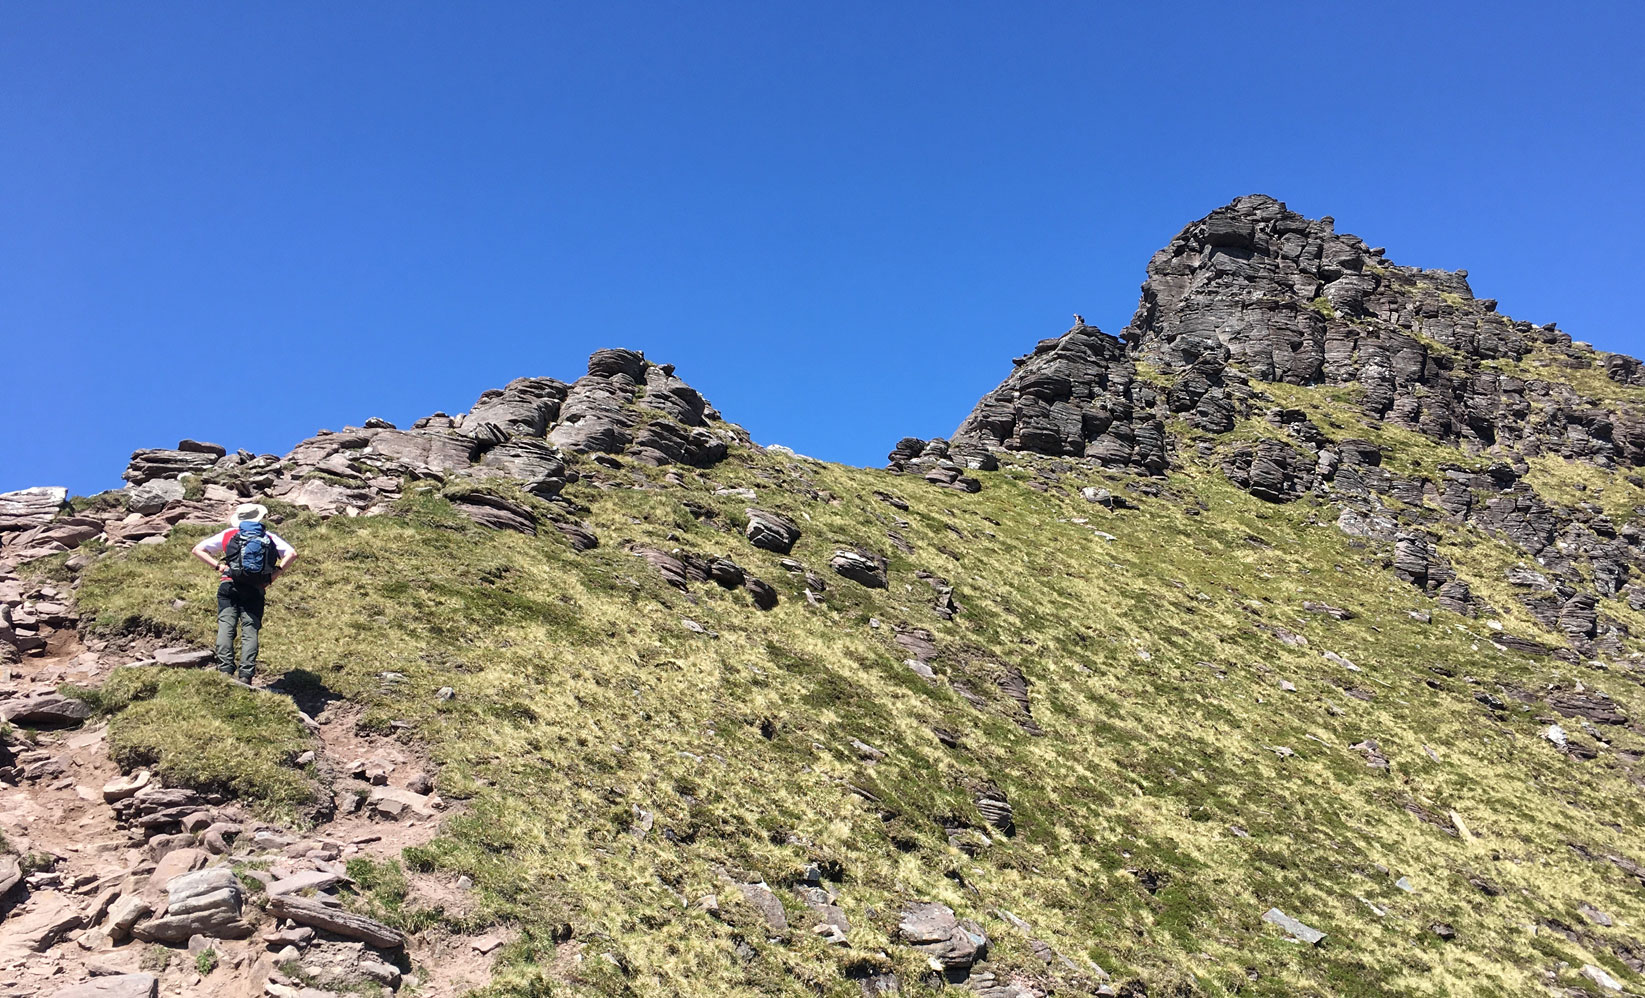
Getting closer to the first pinnacle

Route up the first step. Yellow band is climbable but a bit exposed on the right.
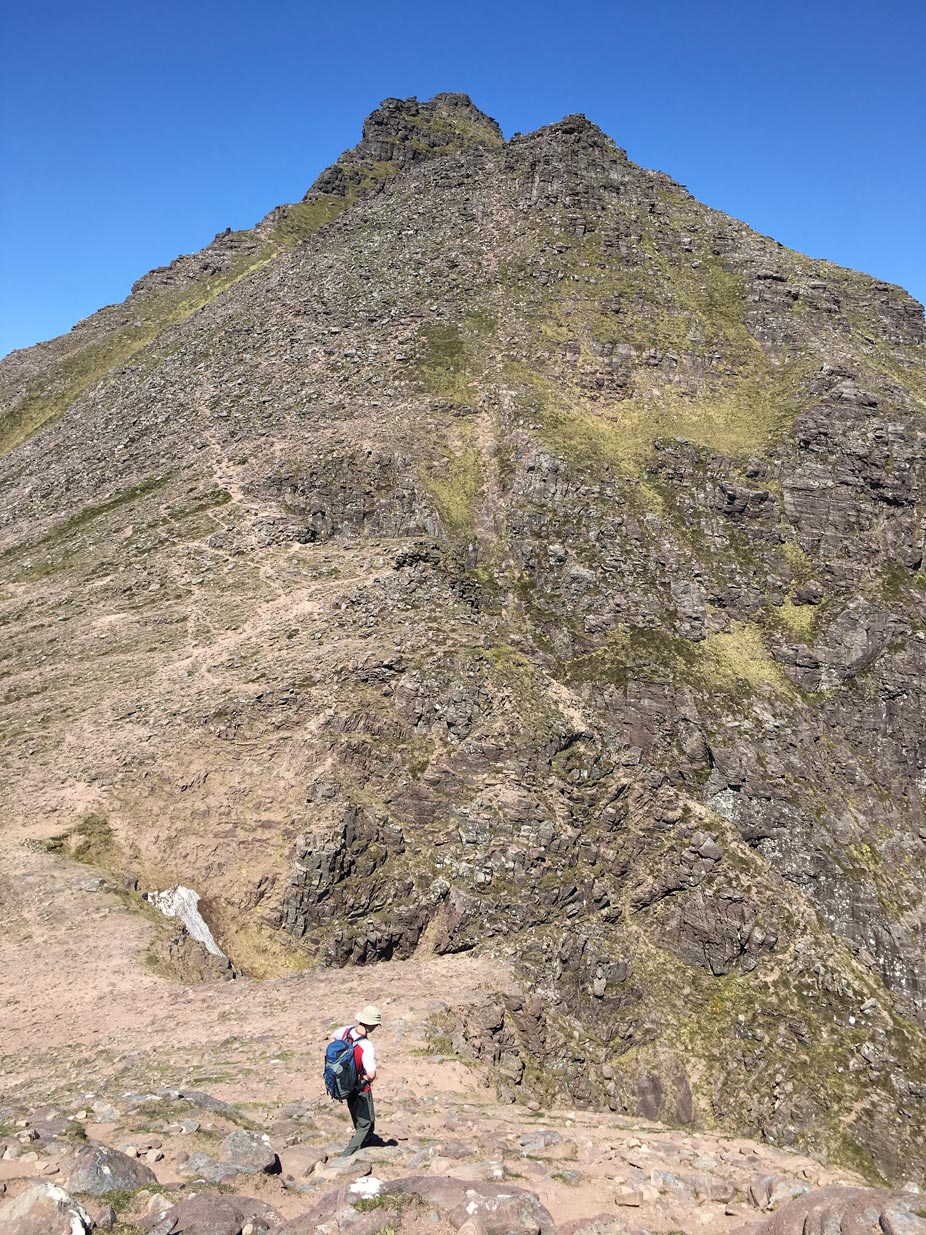
Watching the climbing ahead

View back to Stob Cadha Gobhlach and Sail Liath
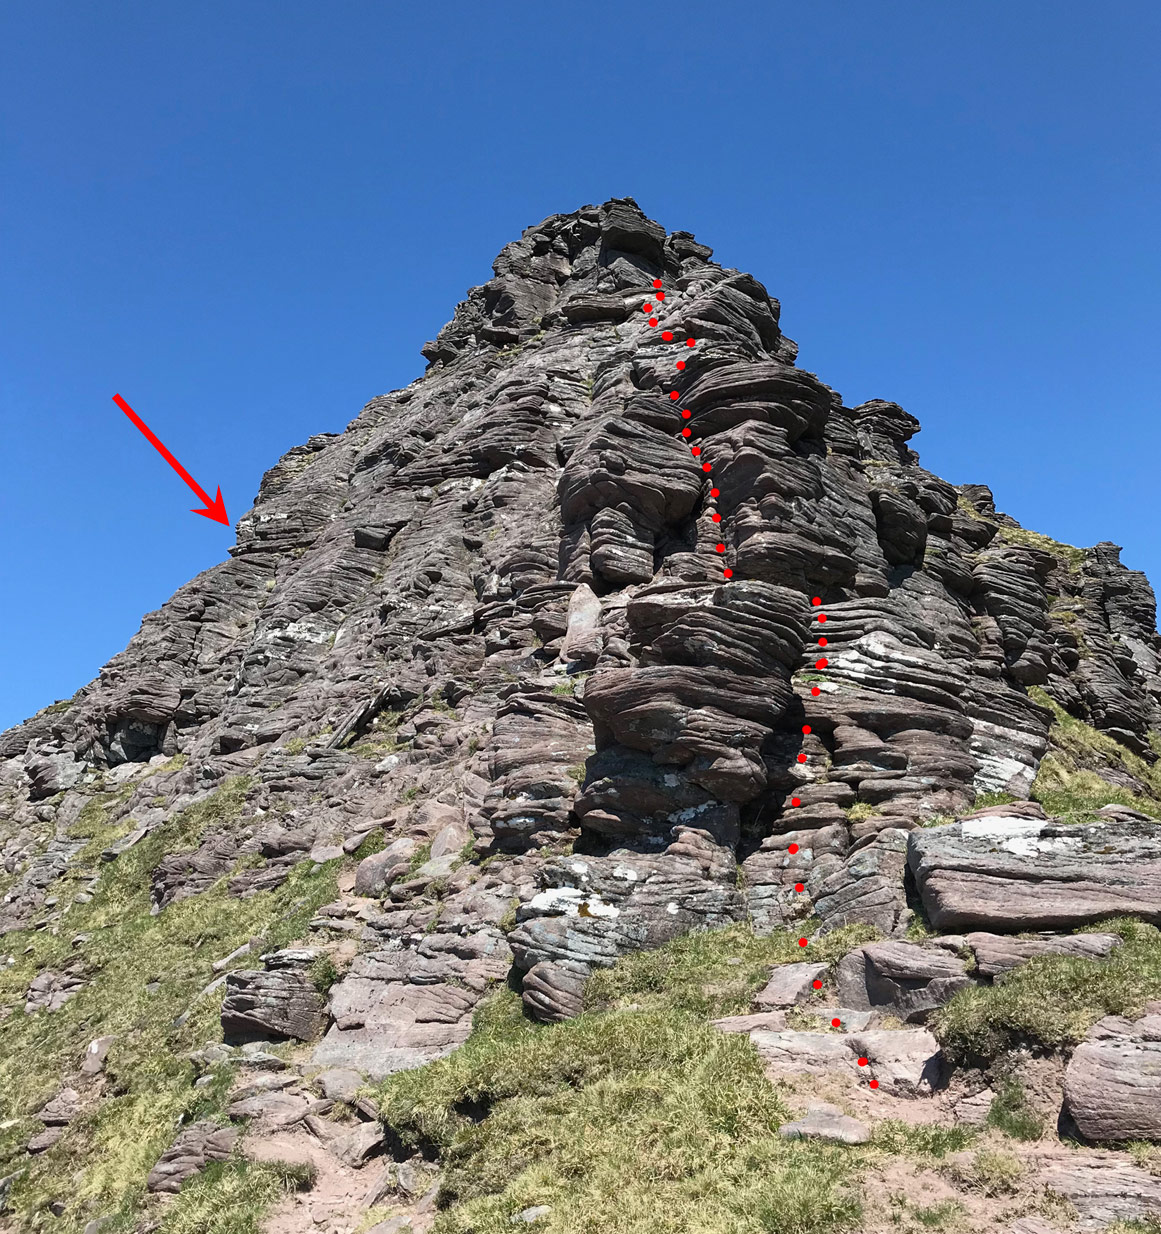
Easy scrambling route up the red dots. At the top of the red dots, we traversed left to the next scramble at the red arrow.

Scrambling to the top of the red dots


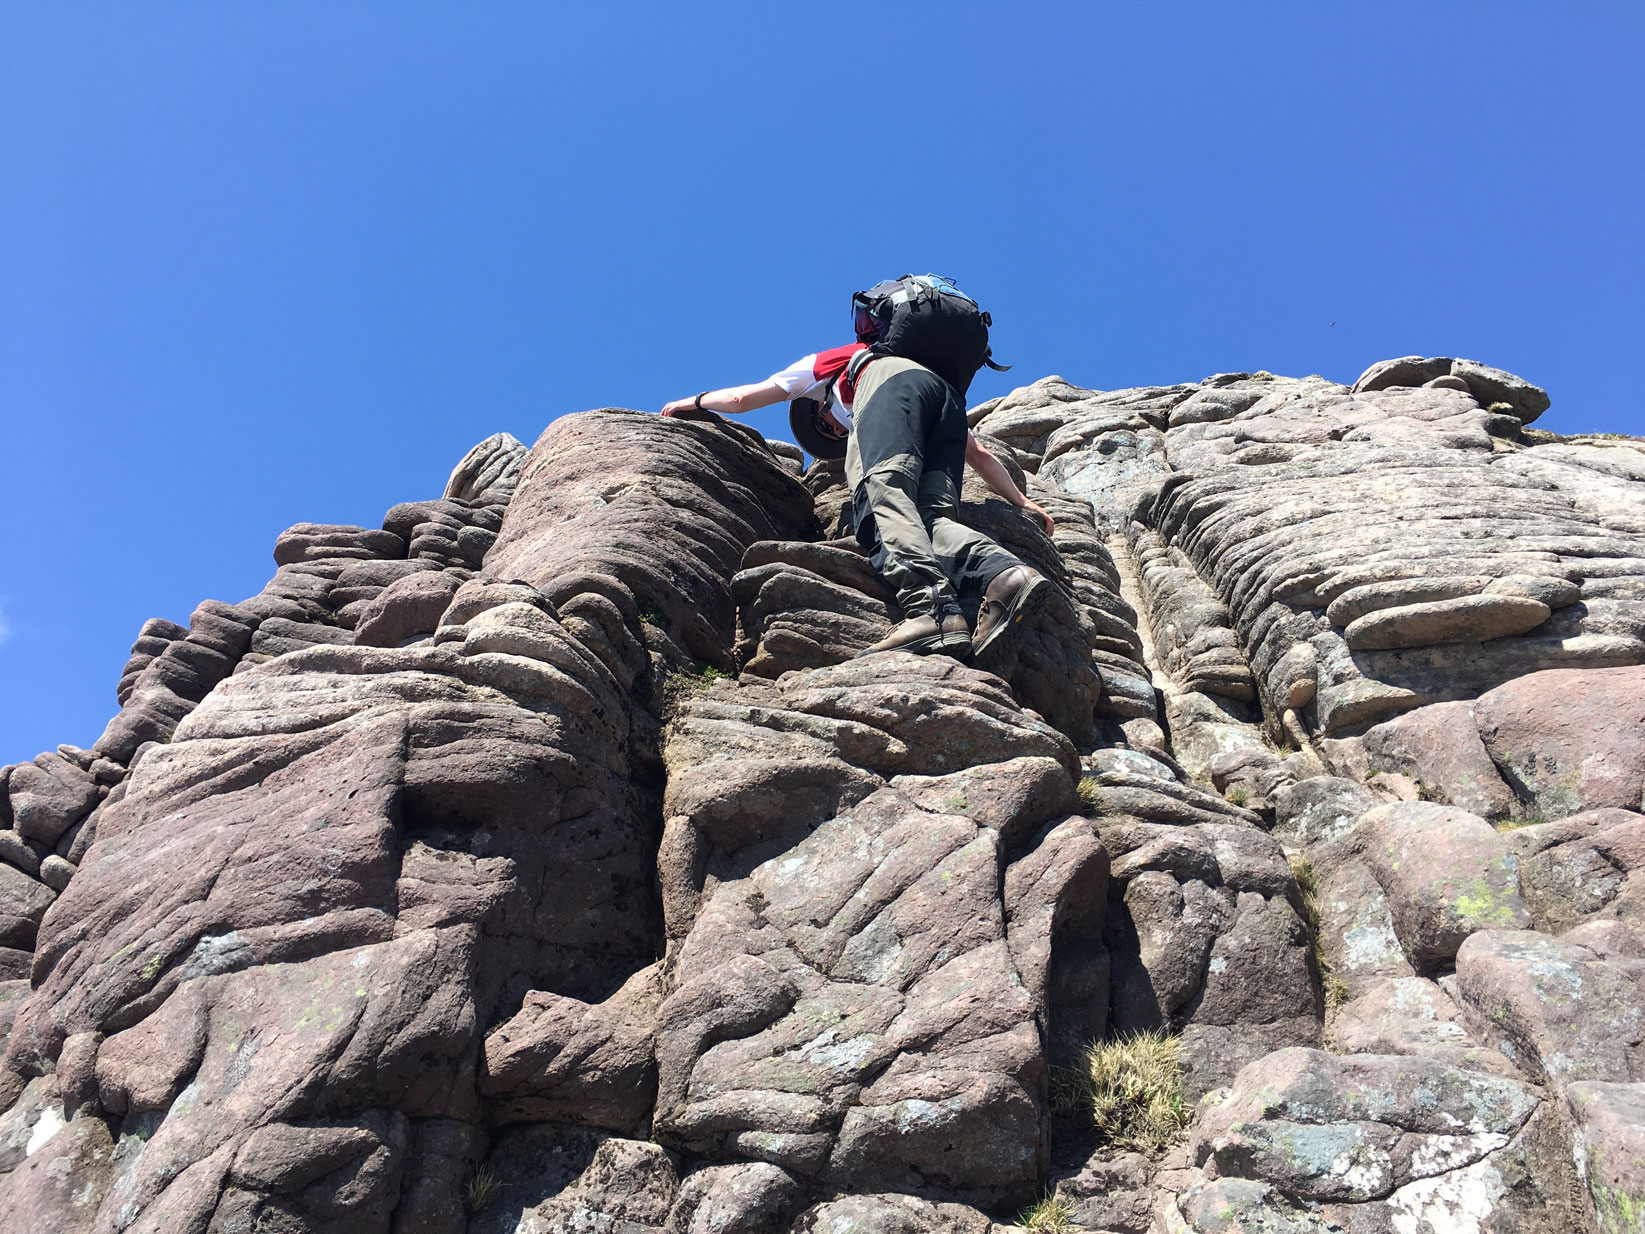
The hardest bit of scrambling that we did all day. Good grip, reasonable holds, various different ways to do it.

Fisherfield, and the base of the scramble.

Looking back towards Sail Liath from the base of the scramble.


The hardest part of the day.

View from the top of the scramble back to Sail Liath


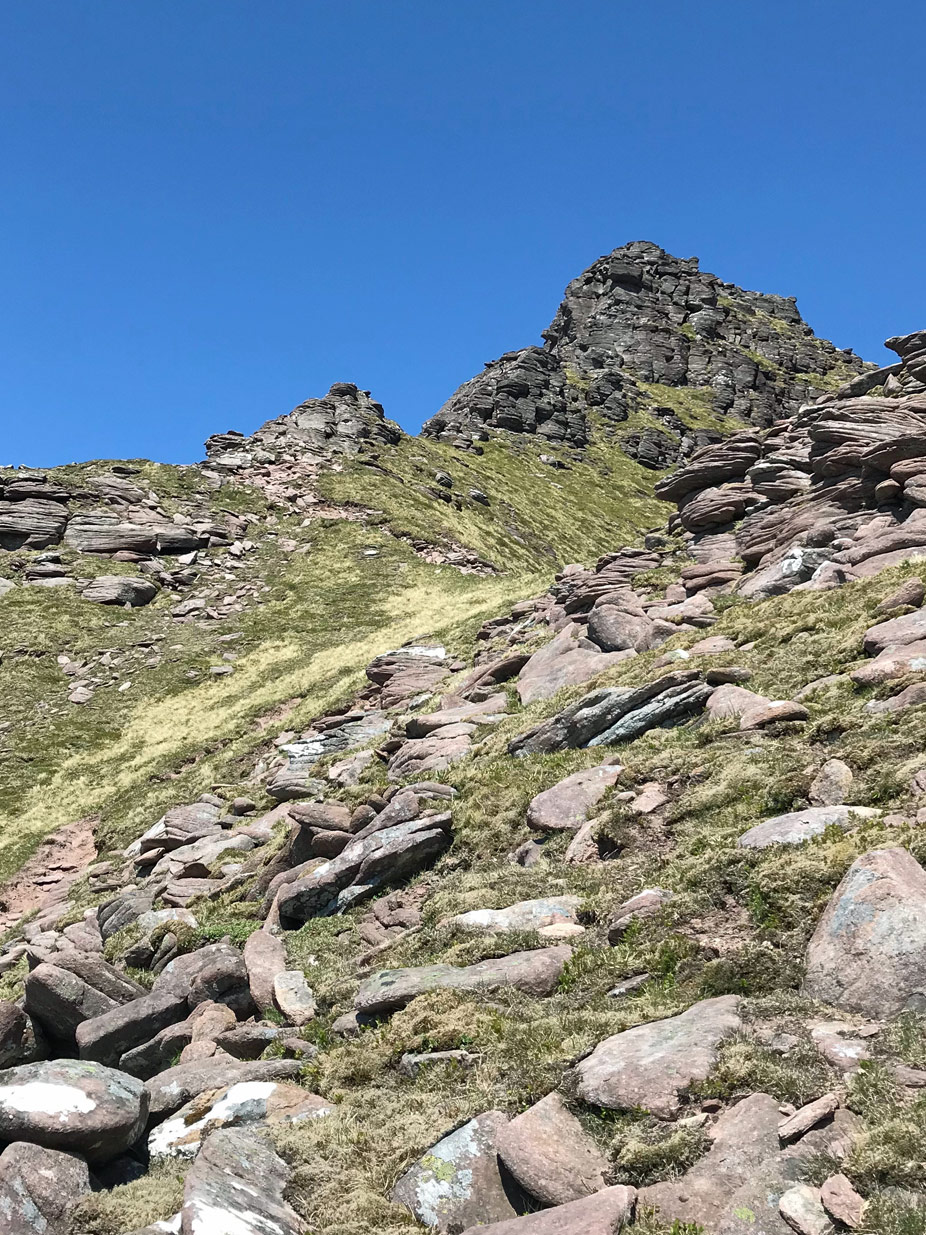
The final scramble up pinnacle 1

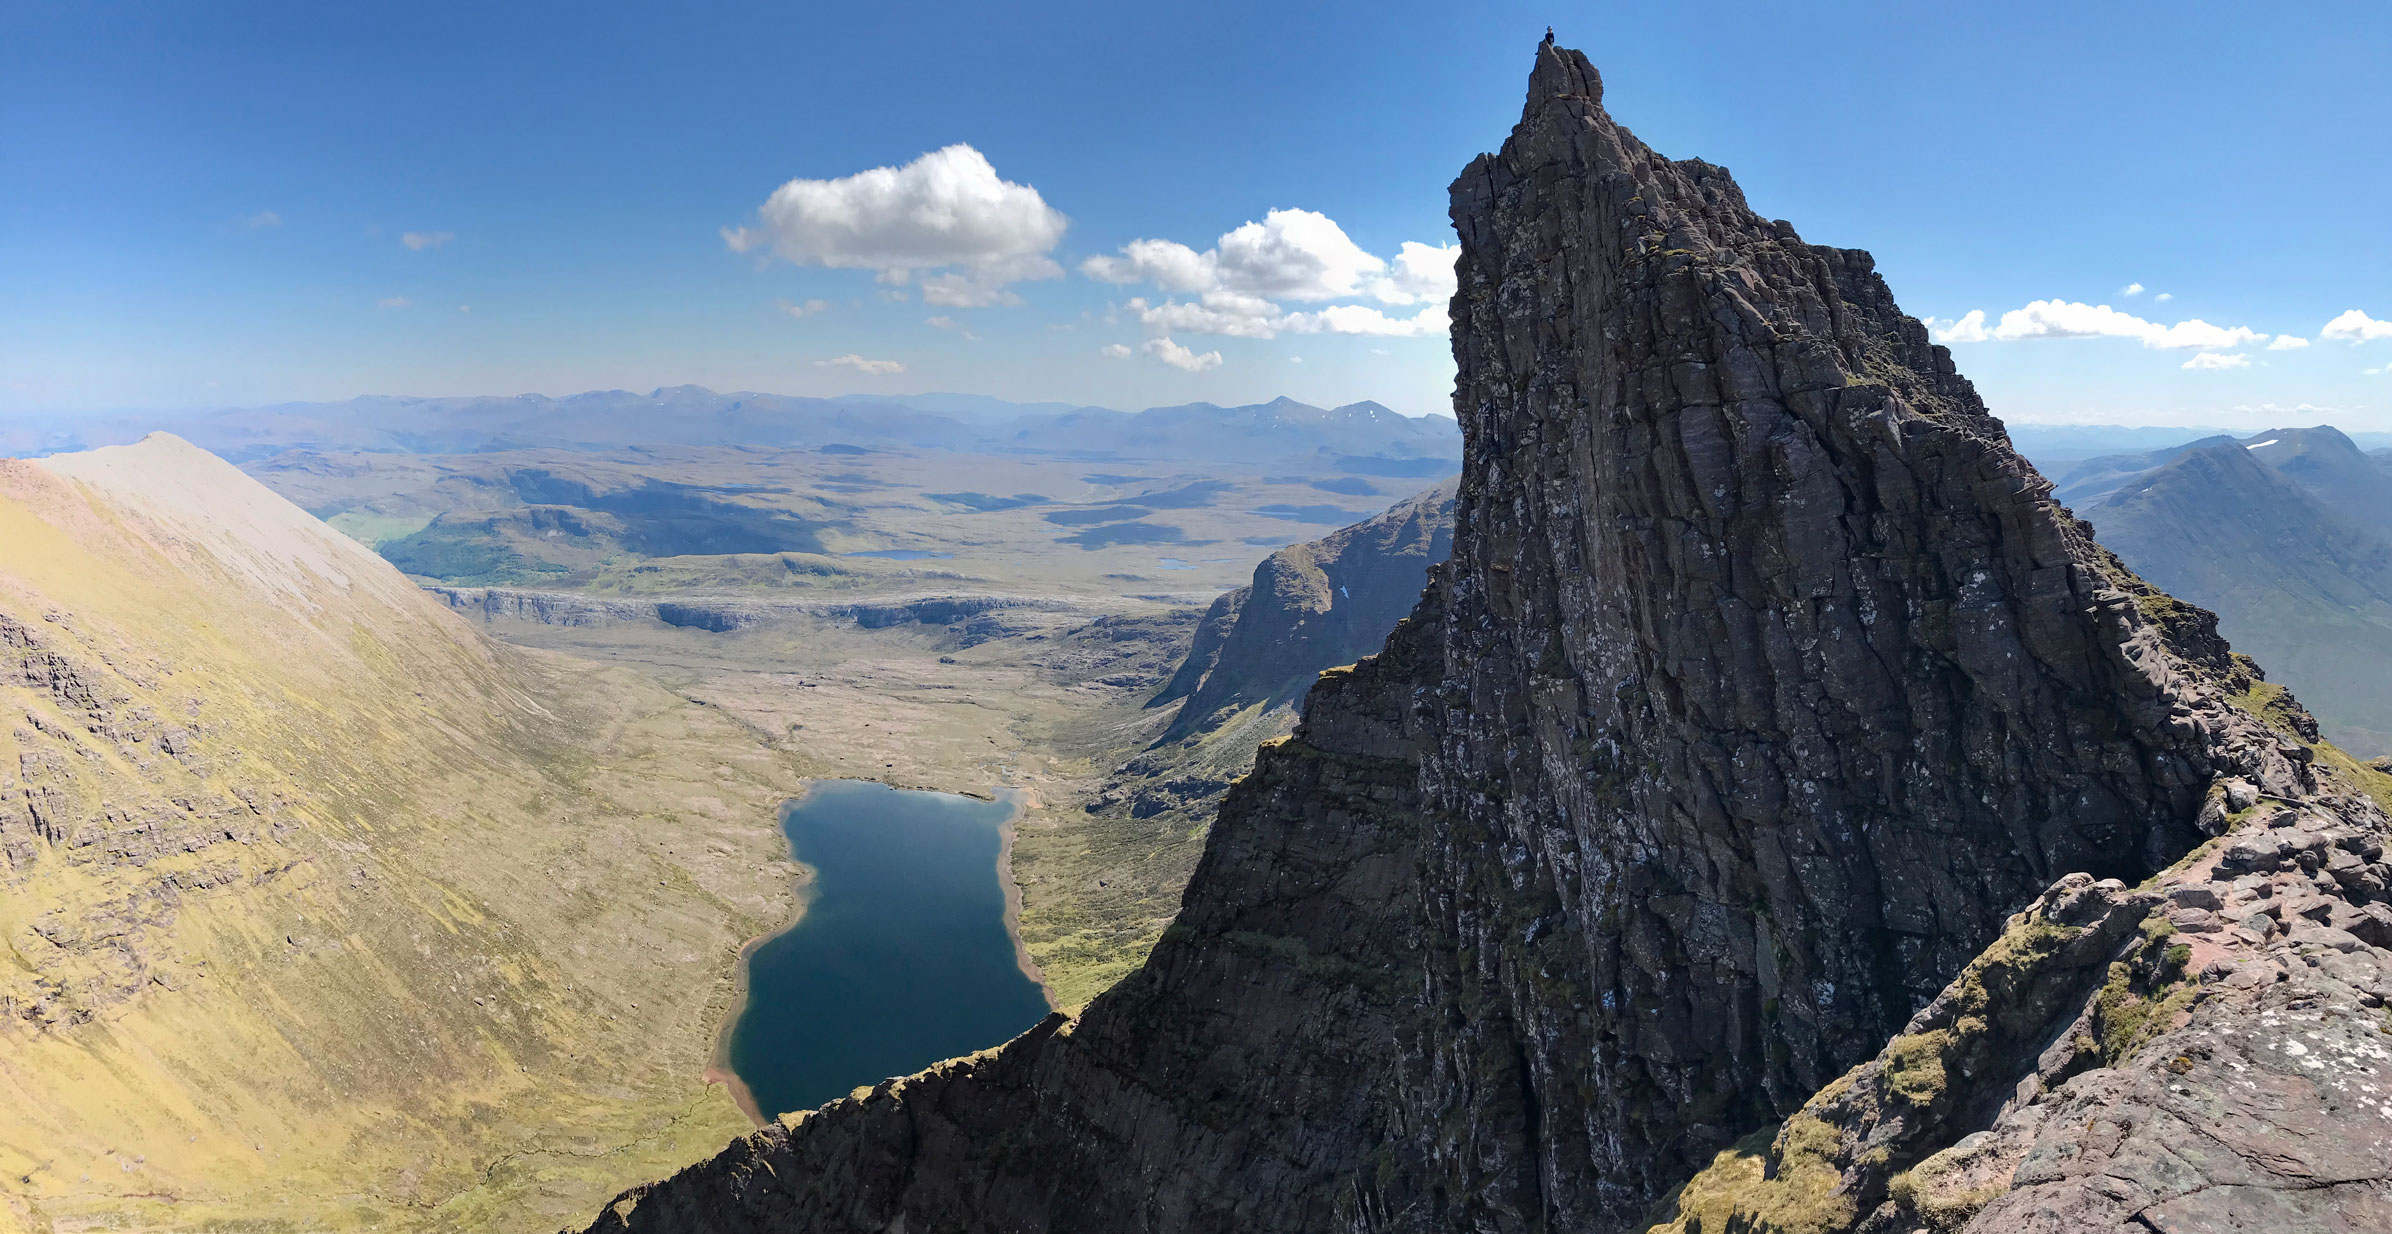
The top of the first pinnacle

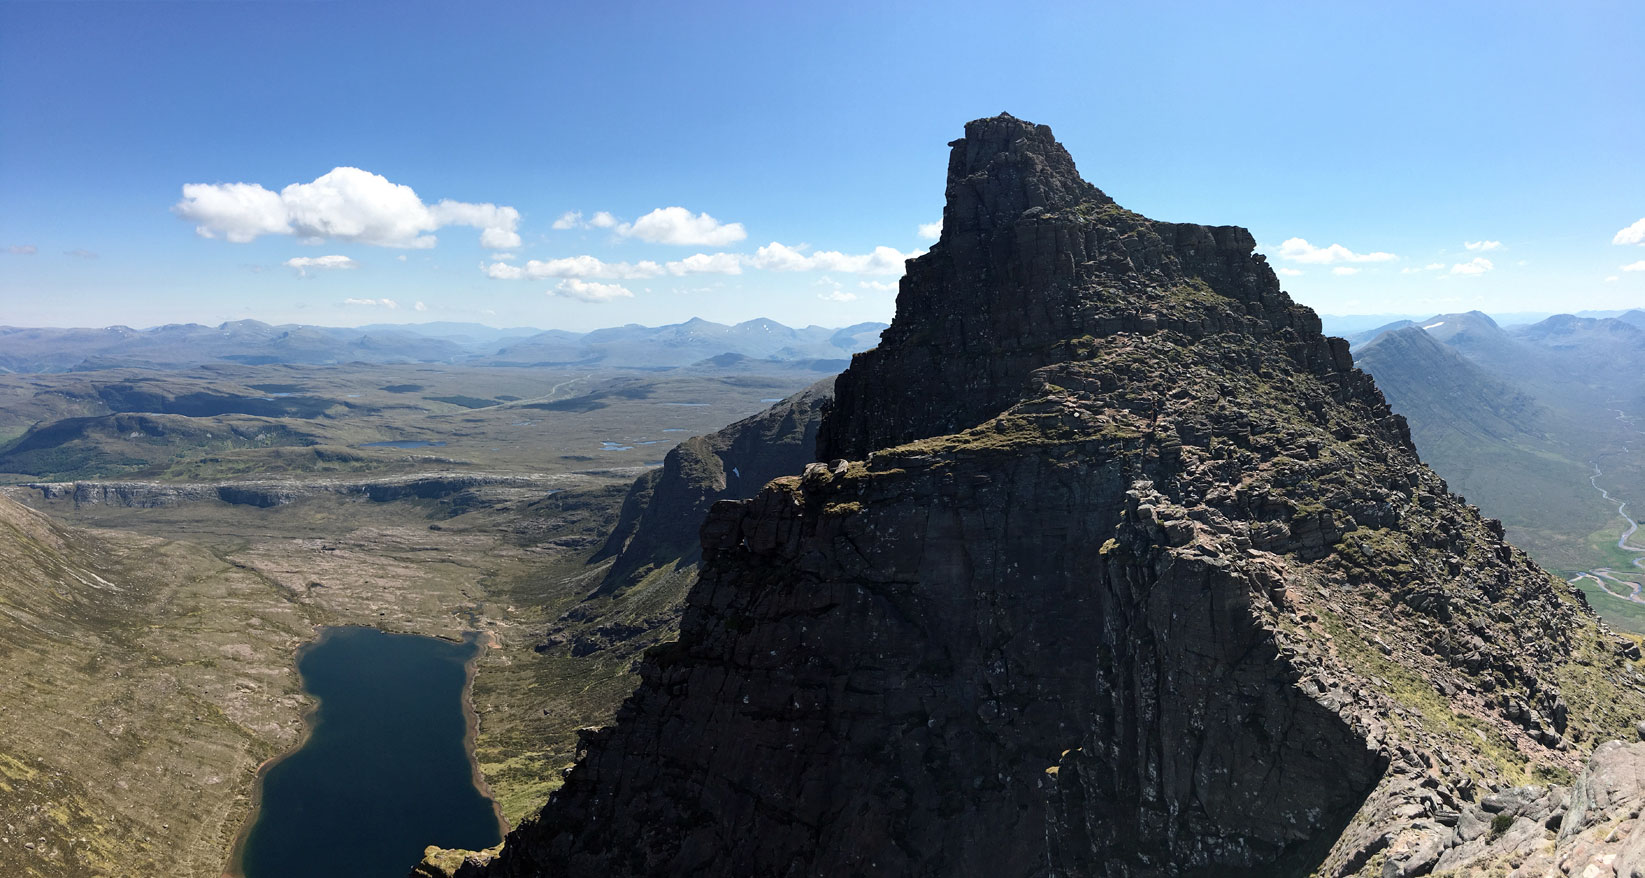
Looking towards pinnacles 2 and 3 from pinnacle 1

The route we took up pinnacle 2

Deciding not to downclimb off pinnacle 1 (although it is actually an easy downclimb)

Instead, we took the easier option to descend on the left

View from pinnacle 2, looking back at people down-climbing from pinnacle 1


Balance along the ridge, before a trickier downclimb at the end of the big red dots. (We descended to the left before the end downclimb.)
The smaller red dots show the route up pinnacle 3 - a fairly easy scramble.

The down-climb from pinnacle 2
Scrambling up pinnacle 3

Looking back towards pinnacle 2 from pinnacle 3


Descending with Sgurr Fiona behind, and Lord Berkeley's Seat in the foreground

Lord Berkeley's Seat - outlined in yellow

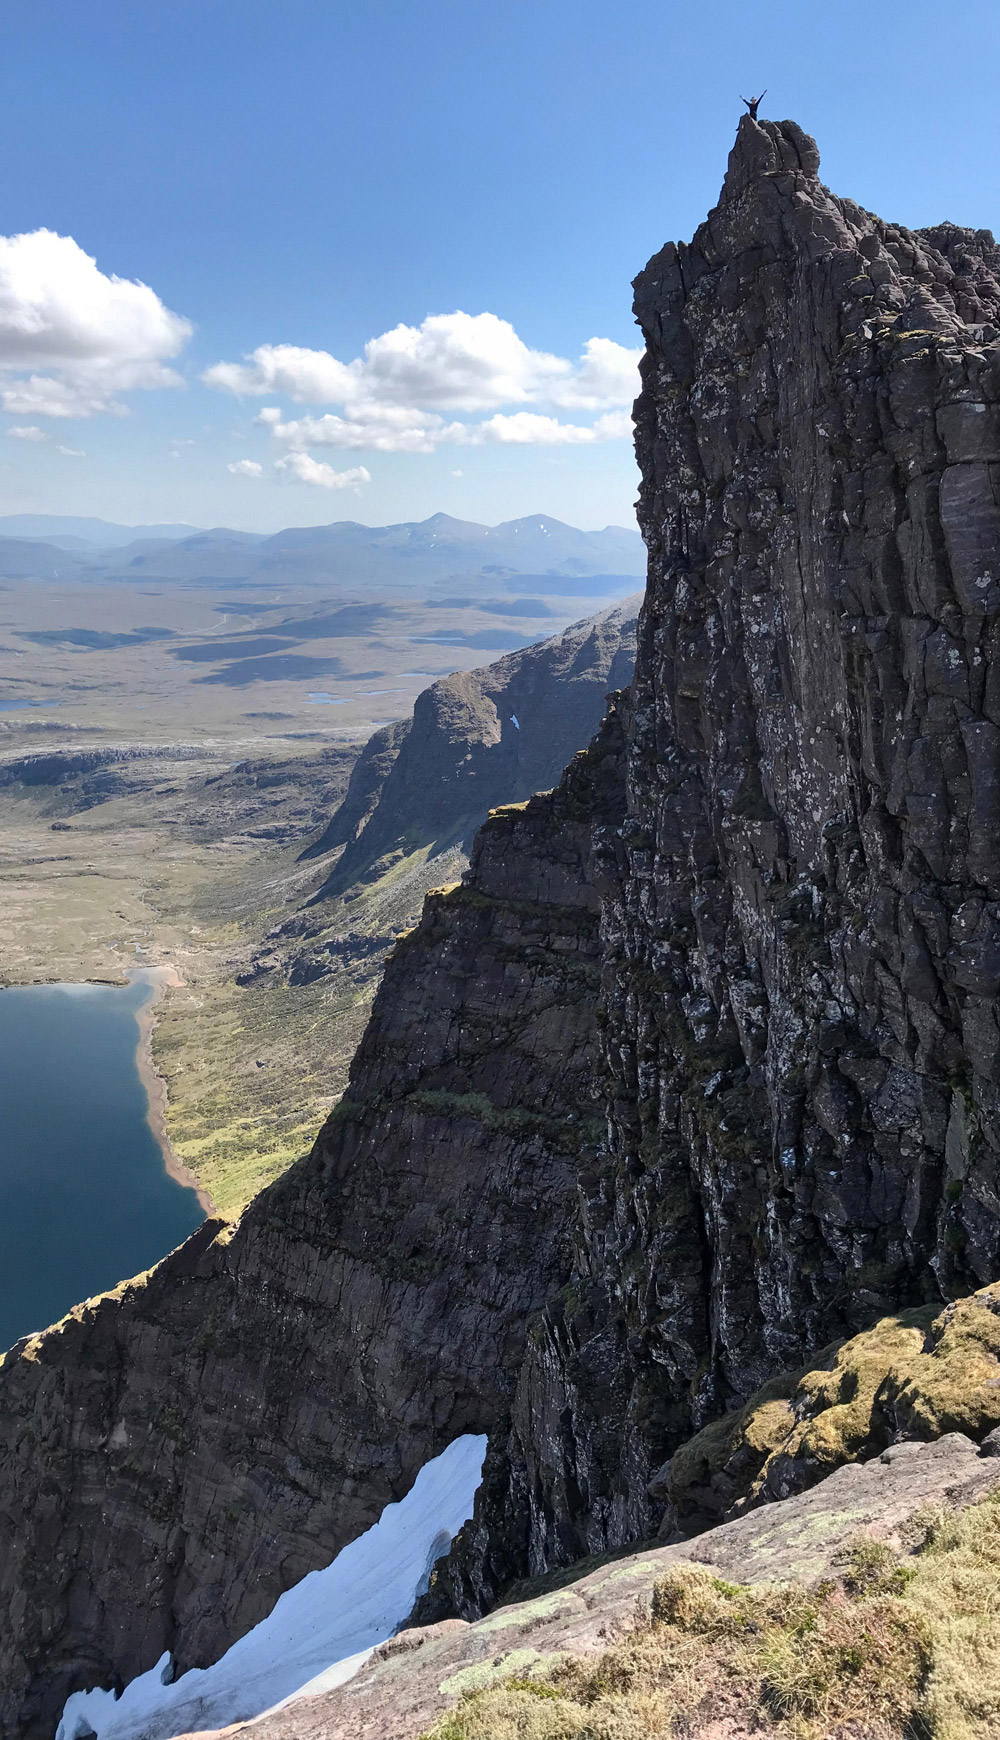
On Lord Berkeley's Seat, just about to dangle my legs over the edge
Looking back at pinnacle 3 from Lord Berkeley's Seat

Sgurr Fiona from Lord Berkeley's Seat
Aga on Lord Berkeley's Seat
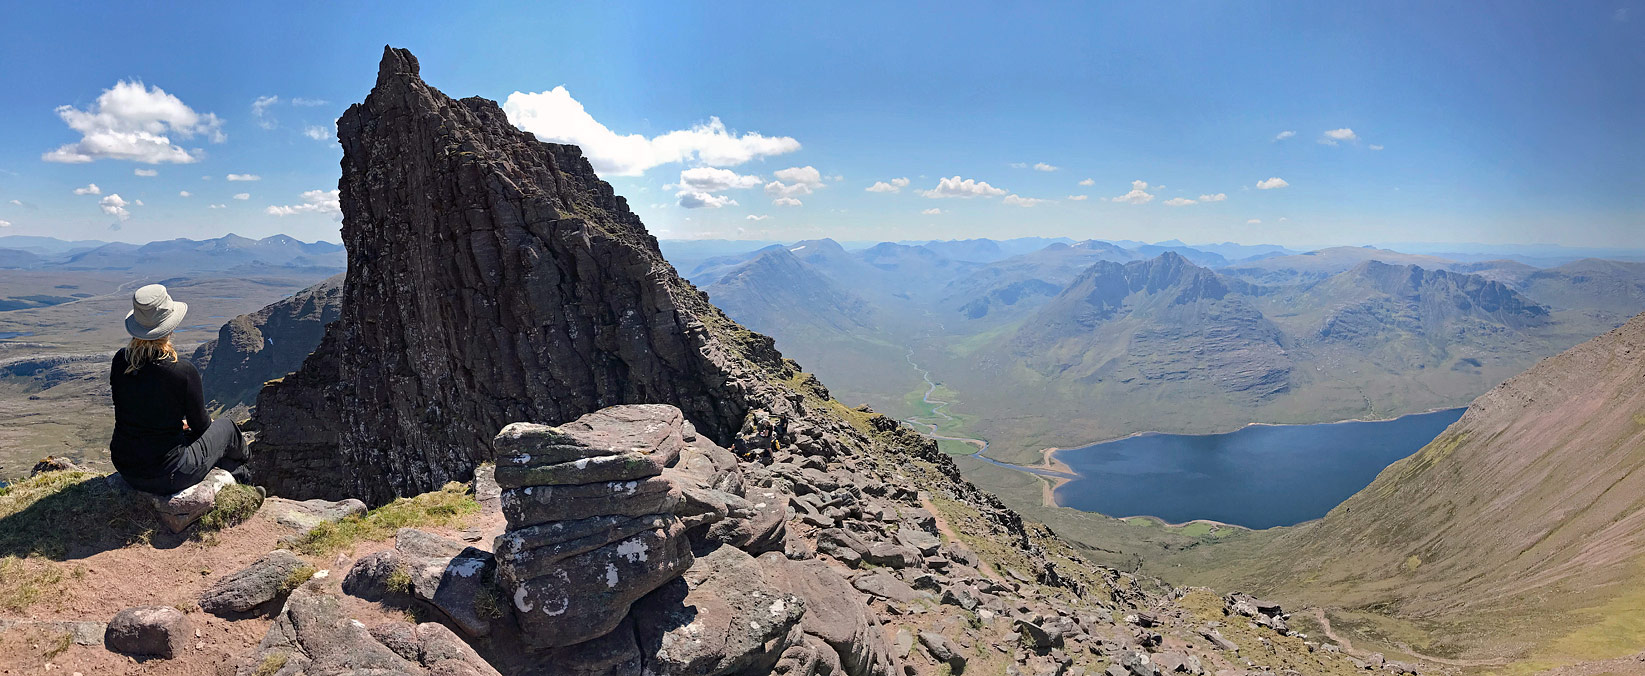
Lord Berkeley's Seat and Fisherfield

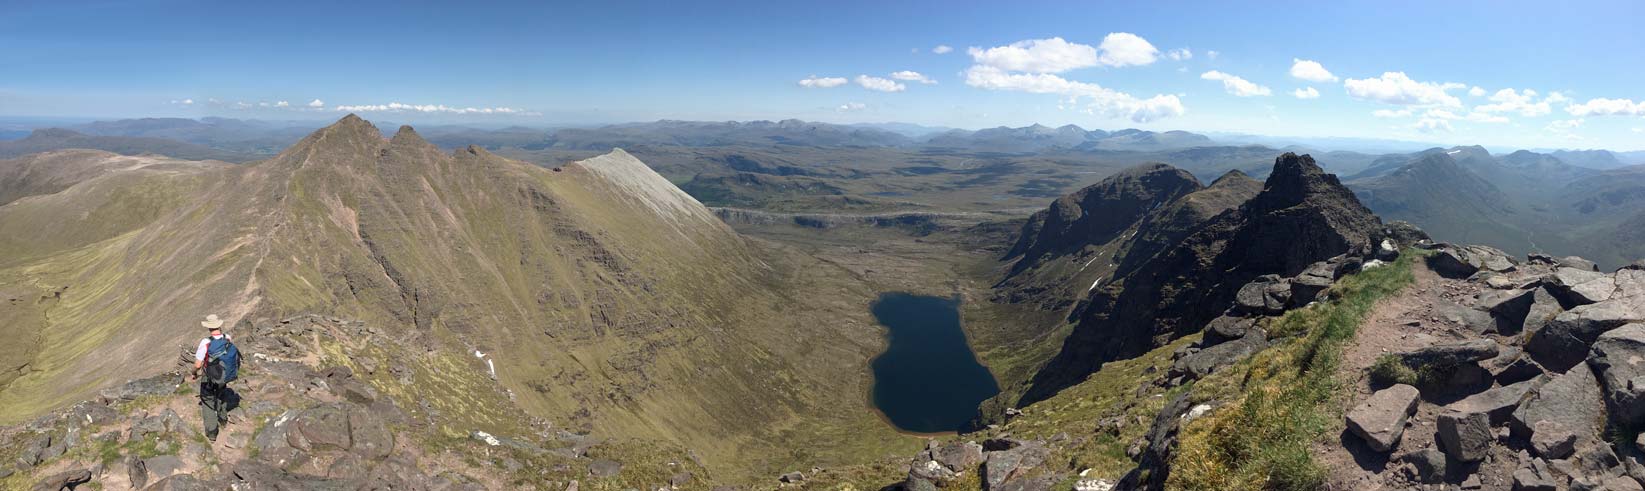
Looking back towards the pinnacles from Sgurr Fiona


Descending from Sgurr Fiona, heading to Bidein a’ Ghlas Thuill

Looking back to Sgurr Fiona and Corrag Bhuidhe
Bidein a’ Ghlas Thuill summit with Glas Mheall Mòr and Glas Mheall Liath
Glas Mheall Liath

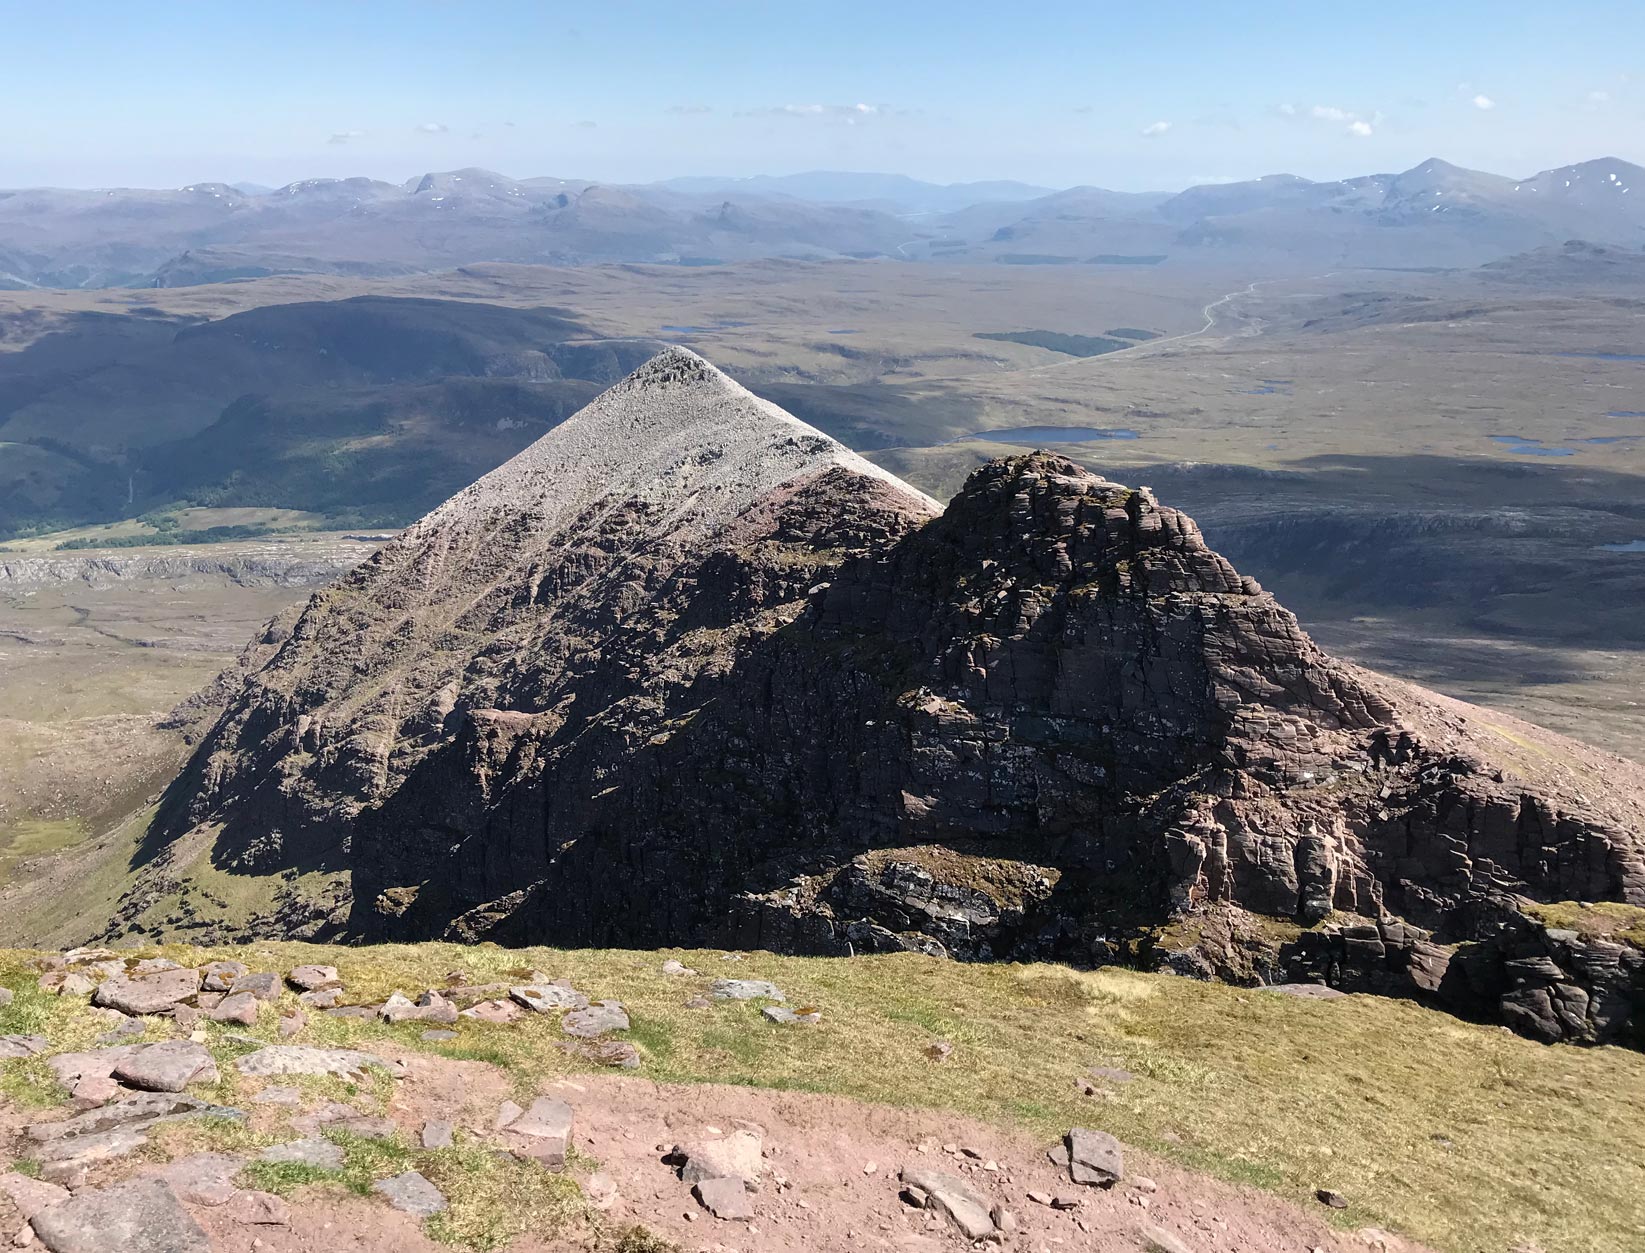
Descending to the head of Glas Tholl corrie with Coigach on the skyline

Descending steeply into Glas Tholl corrie

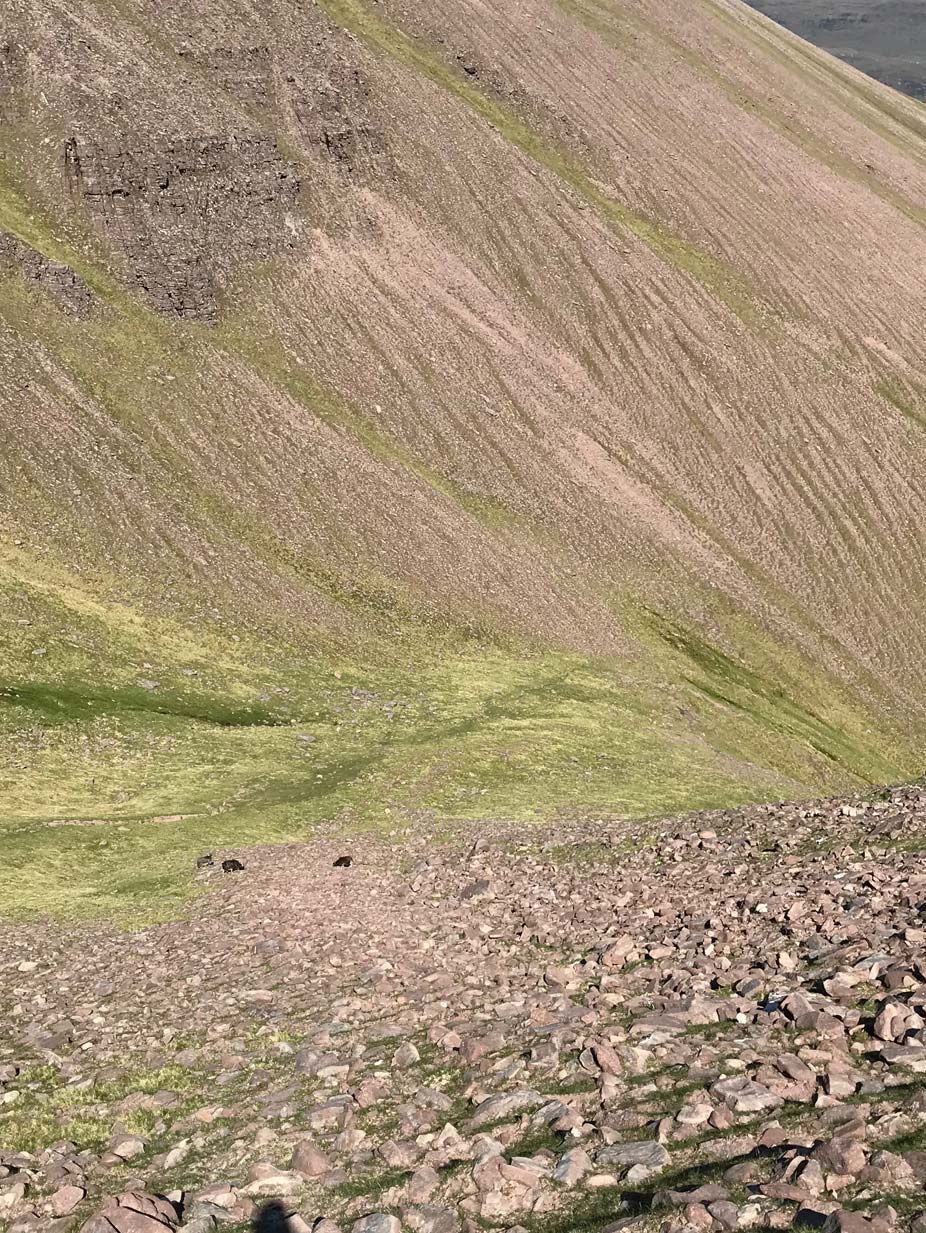
Wild goats


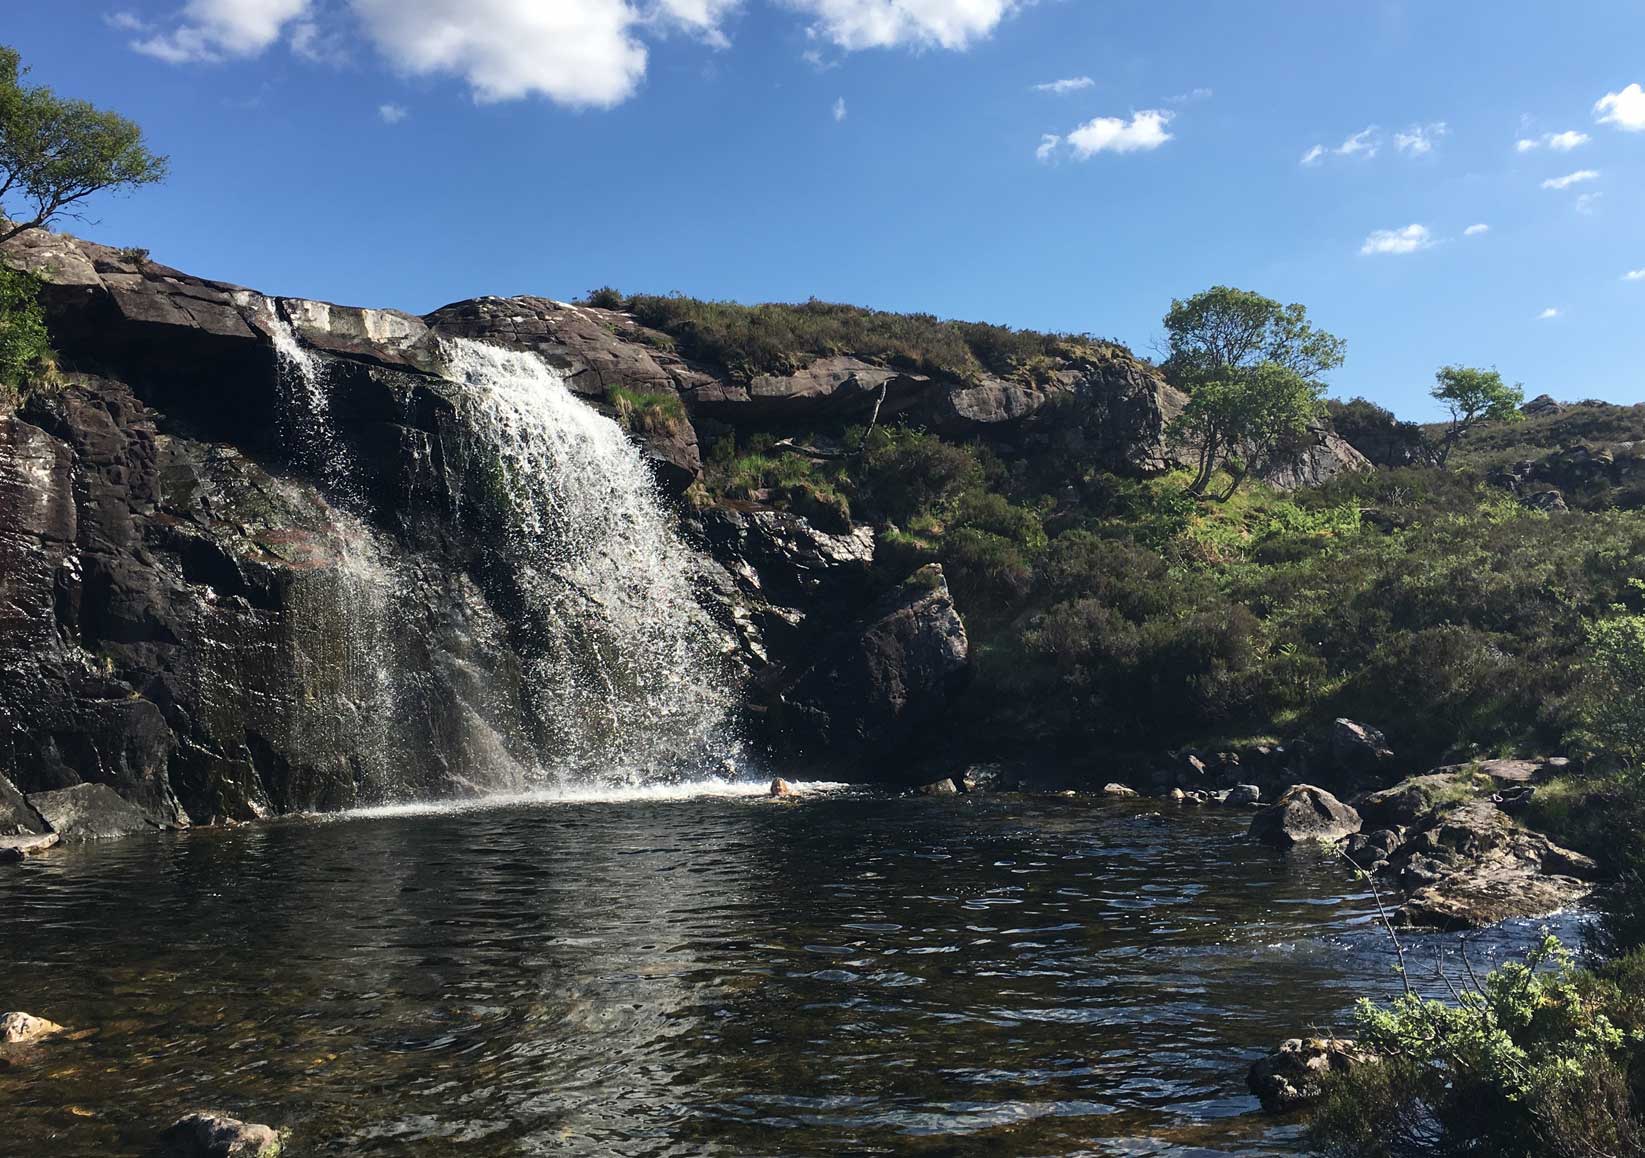
Allt Coir’ a’ Ghiubhsachain Waterfall


Badrallach campsite
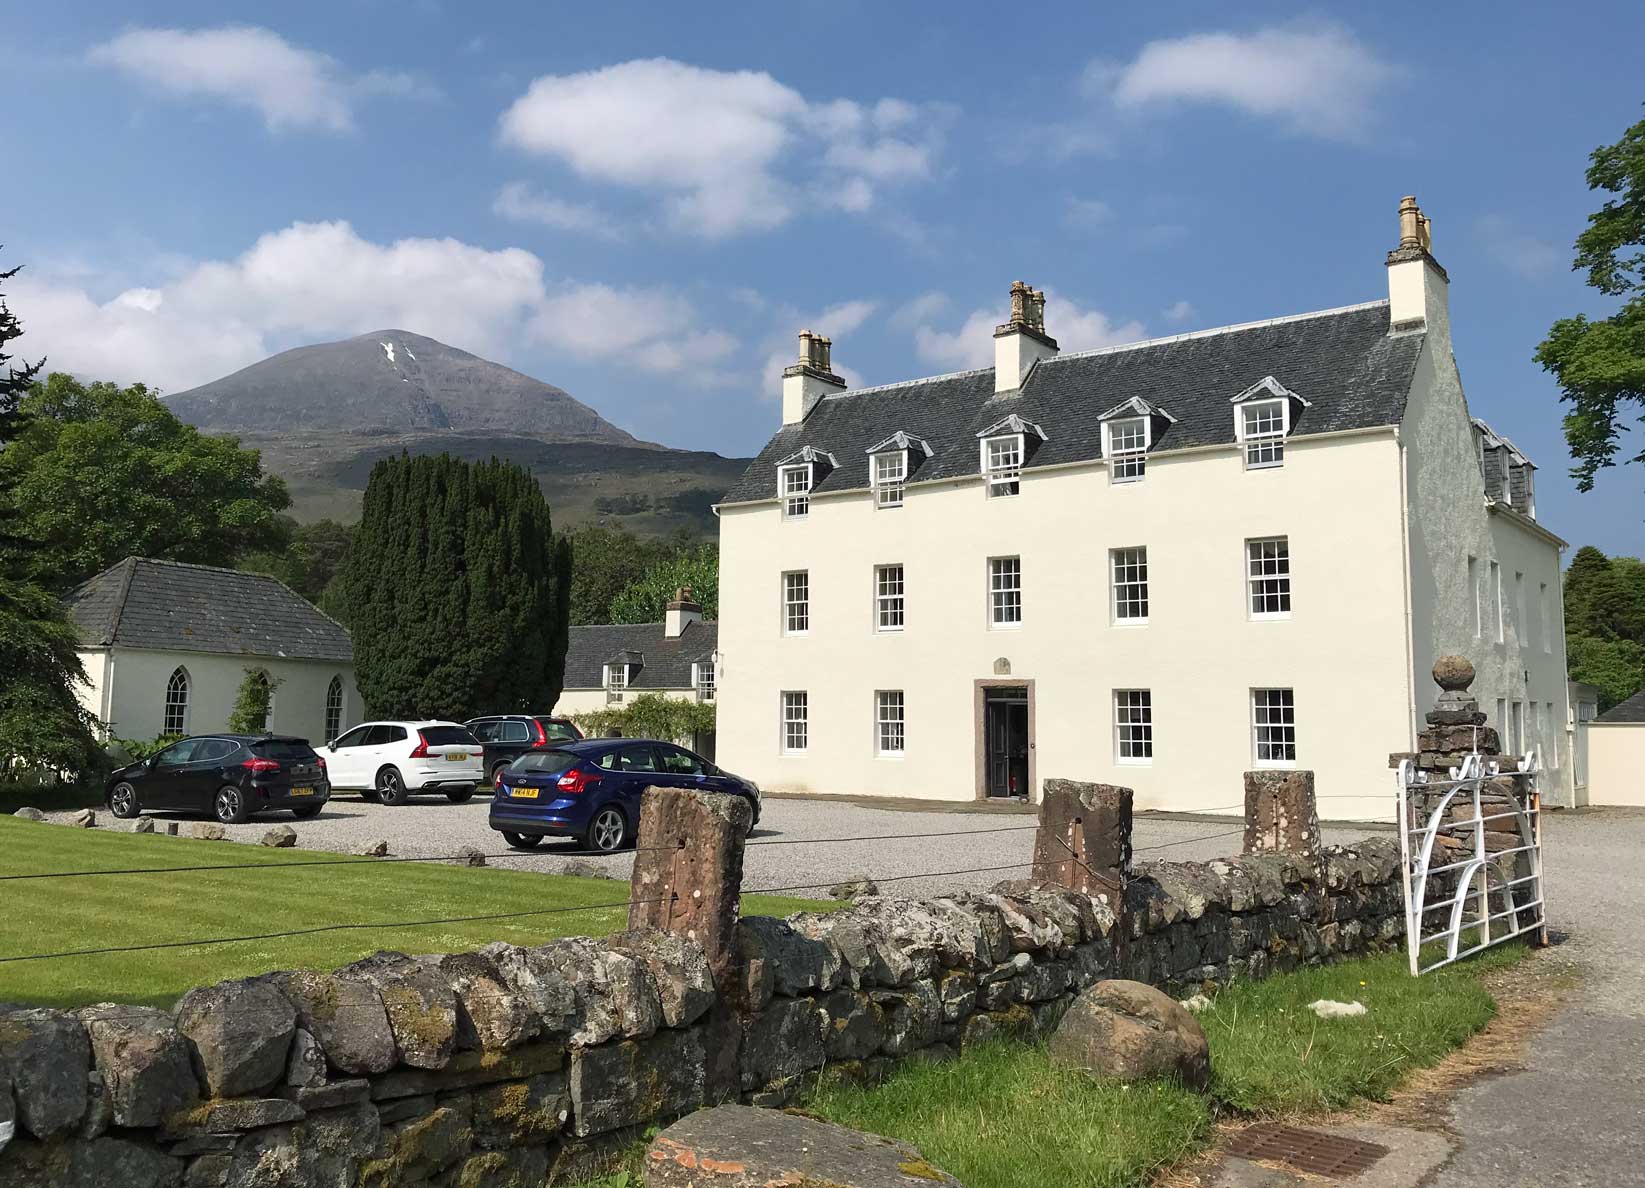
Dundonnell House

Dundonnell 18th century bridge
|
|